Using Vite with Babylon.js

What is Vite and why do you need it?
Vite is a modern development environment that bundles & optimizes your code, launches local test servers instantly, automates more project configurations out-of-the-box, and contains other quality-of-life improvements. In other words, it's an all-in-one tool that lets you develop Babylon.js projects on your computer locally and with ease. It's intended to replace Webpack, which has a similar goal as Vite but requires more work and maintenance (especially with its config files.)
Whether you're ready to graduate from playing with example projects in the Playground, or if you're already a seasoned developer looking to upgrade your software stack, this guide can benefit any of your future Babylon.js projects!
Leaving the Playground with VSCode & npm
You can skip to Step 3 if you already have a code editor and npm installed. Otherwise, it's time to finally leave the Playground and learn how to create Babylon.js projects that you can publish and share anywhere. This is usually done with a code editor, a program that helps you write and manage your projects.
(1) Install a code editor. This tutorial will be using Visual Studio Code (or VSCodium) but you can still follow along if you want to use a different one.
Your code editor may look something like this when opened.
(2) Close your code editor and install Node.js with one of these installers (or via your package manager if you use Linux.) Installing this gives us access to npm, a library of Node.js packages to help you build web-based apps and keep them up-to-date. This is how we're going to install Babylon.js and Vite.
You'll know if you did it right by opening Command Prompt on Windows (or Terminal on macOS/Linux) and writing npm -v. If the output is a version number, you're good to go.
Setting up Vite & Babylon.js
Once you have your code editor and Node.js installed, we can begin setting up your development folder.
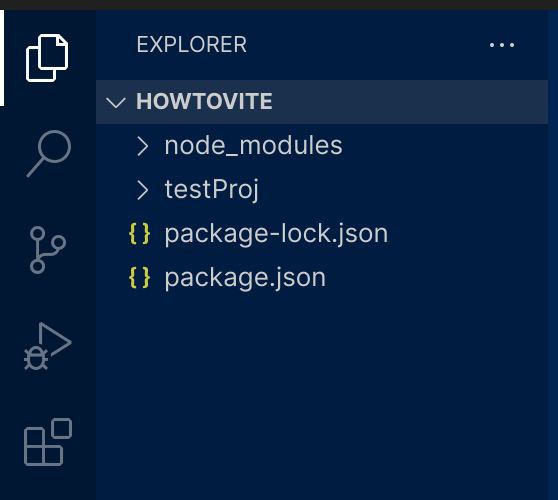
(3) Create a folder on your computer wherever you want to store your Babylon.js projects, and open it in your code editor using the menu File > Open Folder. If prompted, click on "Yes, I trust the authors." You should now have a sidebar on your left like this:

(4) Toggle the terminal using the menu View > Terminal and enter the following commands one after the other:
npm i vite(iis short forinstall)npm i -D @babylonjs/core(-Dis short for--save-dev)npm i -D @babylonjs/inspector
This installs Vite and some of Babylon.js' features in your created folder (in a subdirectory called node_modules.)
(5) Now enter the command npm init vite. Enter the name of your Babylon.js project, such as testProj or whatever name you want. You can also set a package name, but the default one works fine. Choose "Vanilla" from the list that pops up, and then choose "TypeScript." (This setup also works with JavaScript, but with slightly different steps not documented here.)
Look at that! We have a new folder containing a Vite template project. You can rename the folder if you want.
Configuring a test project
Now let's turn our vanilla Vite folder into an example Babylon.js project that you can use as a foundation for your future Vite & Babylon.js projects.
(6) Right-click your new folder in the left-hand side and choose Open in Integrated Terminal. A second tab in your terminal will open, which is pointing to your newly-generated project folder.

Note to advanced users: The reason why we didn't just cd into the new folder is because it's convenient to have both the root and project folders open as separate tabs in our Terminal. Doing this lets us maintain our packages in the root folder separately from the project subfolder. We can install our necessary packages once in the root folder, and reference them freely in the code inside our project subfolders. NPM is smart enough to detect any packages installed in parent folders- you don't have to directly install them inside your project root directories. This is a good habit to get into instead of maintaining multiple copies of Vite and Babylon.js installed in every single project folder, resulting in wasted storage space. Feel free to deviate from this structure if you'd like, though.
(7) Now enter the following commands in the terminal:
npm inpm run dev
The first command updates the Vite packages in your project root folder that still need to be directly in there, and the second one tells Vite to run a server that tests your current code.
(8) Your terminal should now say that Vite is currently running. Ctrl+click on the localhost: URL to view your test server inside your browser.
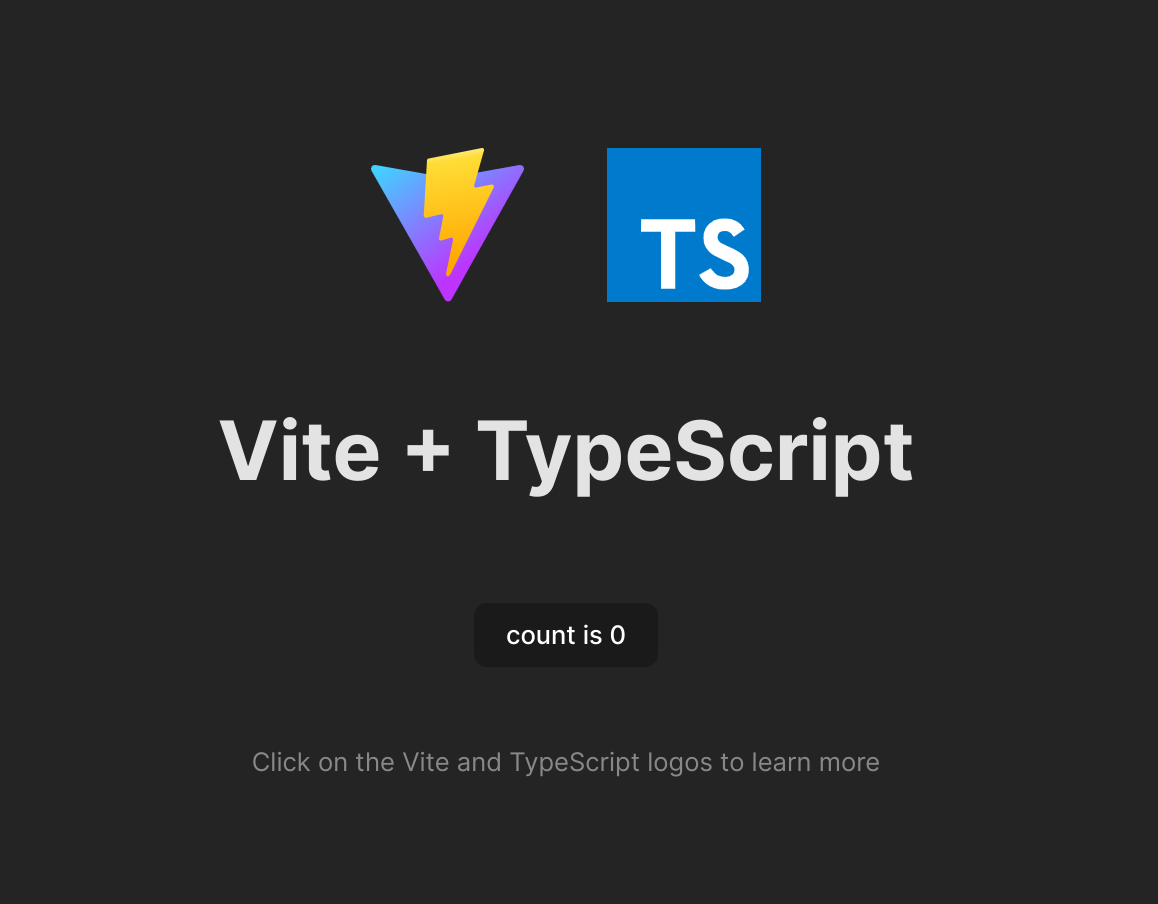
If you see this screen, good job! The foundation of our Vite project is set up. Now let's make it run Babylon.js.
(9) Go back to your Terminal and press Ctrl+C to stop the server. (Don't forget that keyboard shortcut.)
Now use the left-hand sidebar (and some right-clicking) to do the following:
- Delete everything inside the
publicandsrcfolders - Create a new file inside
srccalledapp.ts - Double-click on
index.htmlandtsconfig.json

You should now have all three of these files open.
(10) Copy the contents of the three code blocks below and paste them into their respective files. Save each file (Ctrl+S) after you do this.
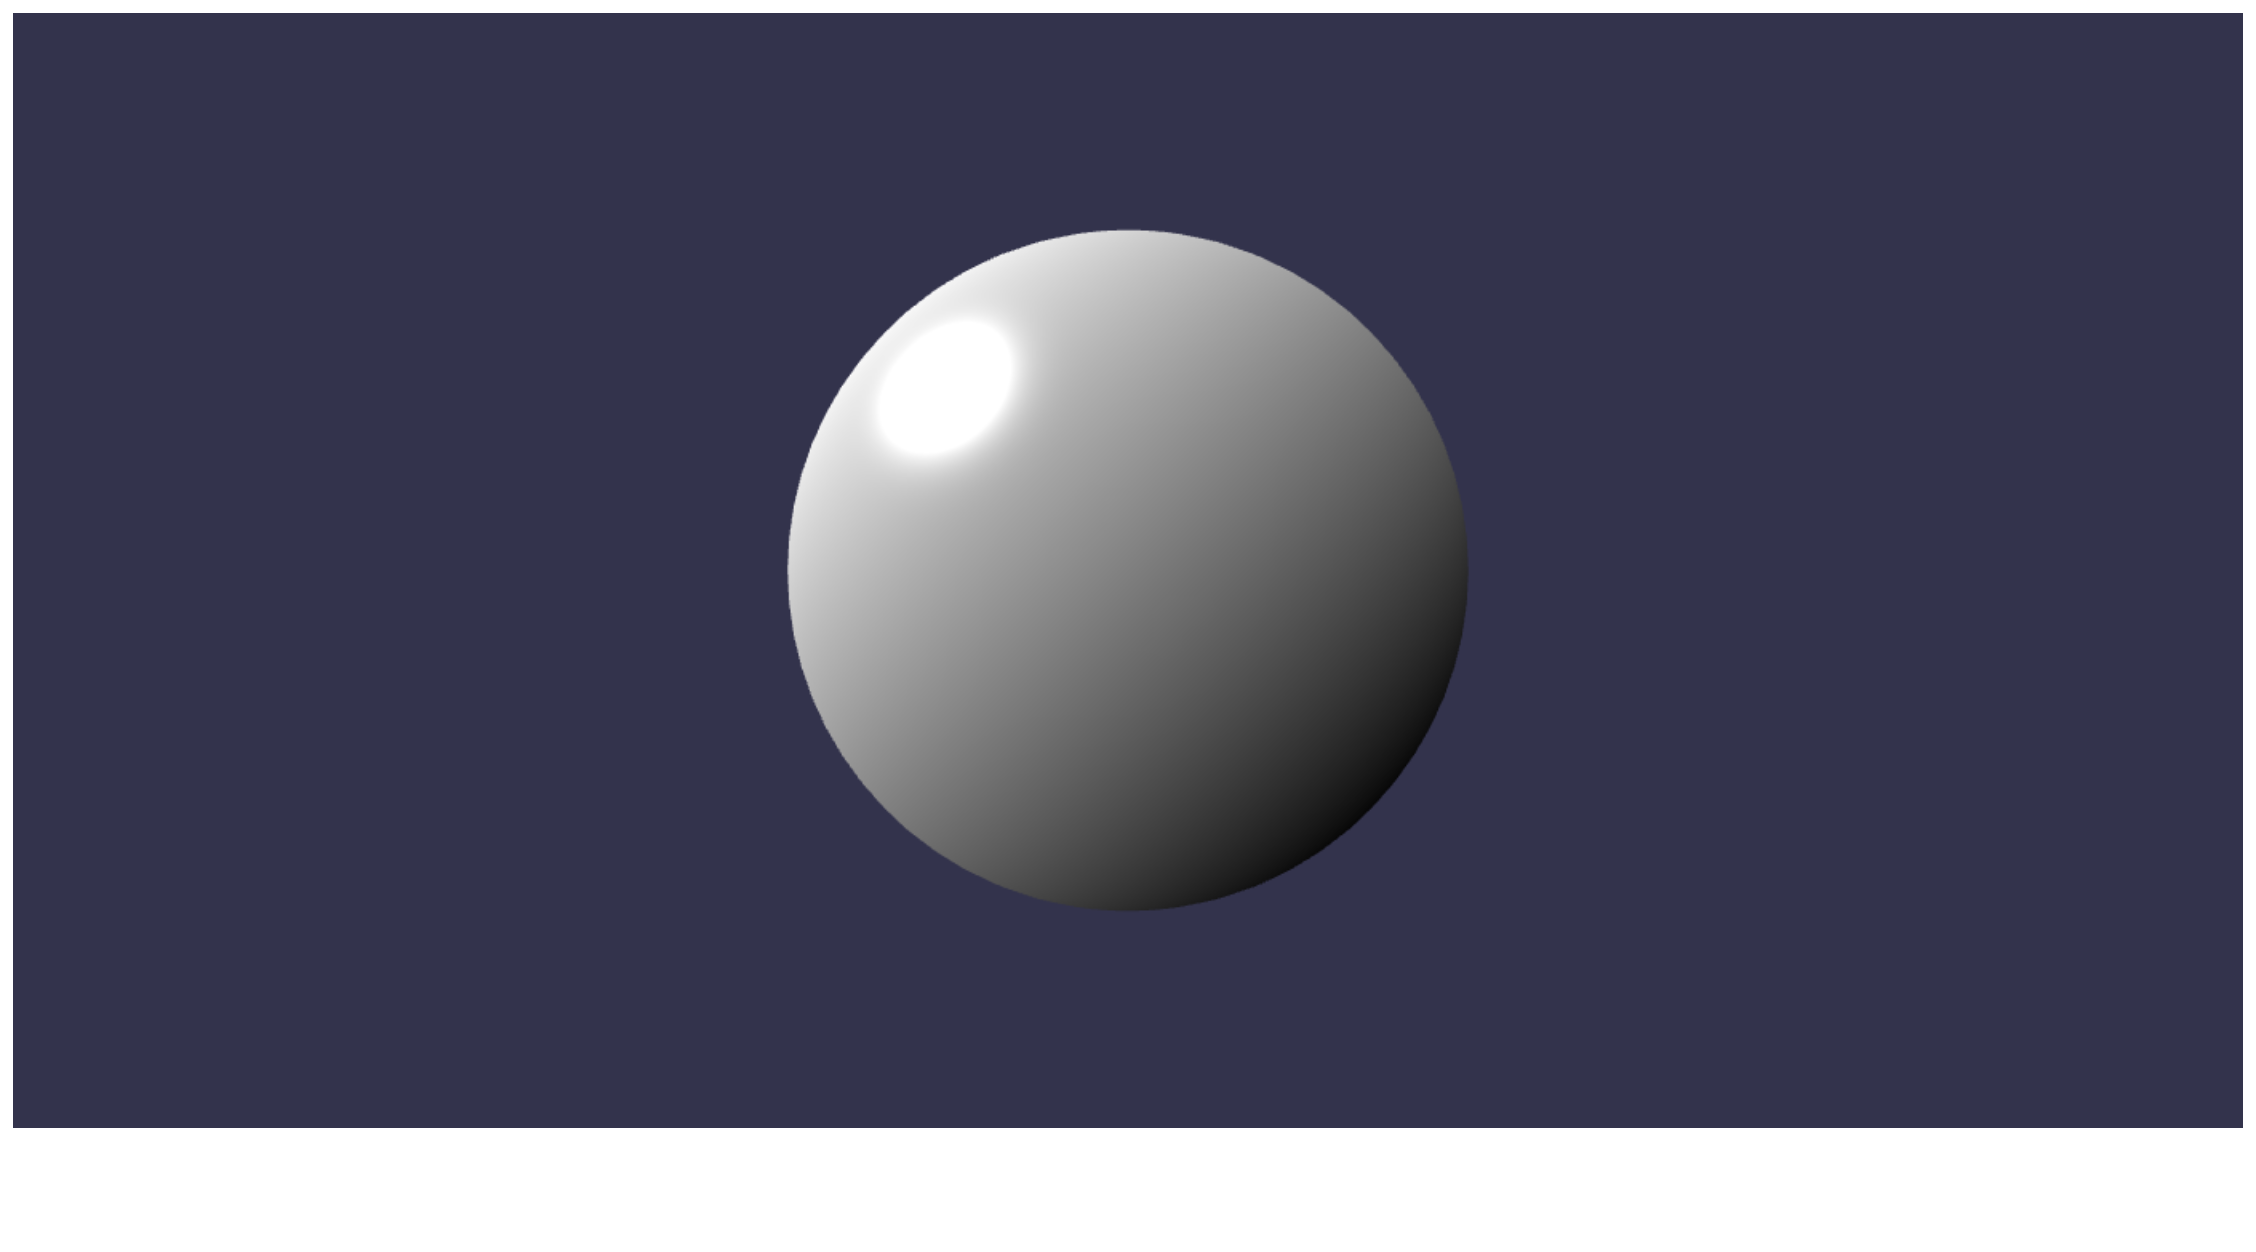
This code for app.ts is a test scene of a sphere from another Babylon.js tutorial. Notice how the import statements at the top allow the rest of the code to function:
import "@babylonjs/core/Debug/debugLayer";import "@babylonjs/inspector";import { Engine, Scene, ArcRotateCamera, Vector3, HemisphericLight, Mesh, MeshBuilder } from "@babylonjs/core";
class App {    constructor() {        // create the canvas html element and attach it to the webpage        var canvas = document.createElement("canvas");        canvas.style.width = "100%";        canvas.style.height = "100%";        canvas.id = "gameCanvas";        document.body.appendChild(canvas);
        // initialize babylon scene and engine        var engine = new Engine(canvas, true);        var scene = new Scene(engine);
        var camera: ArcRotateCamera = new ArcRotateCamera("Camera", Math.PI / 2, Math.PI / 2, 2, Vector3.Zero(), scene);        camera.attachControl(canvas, true);        var light1: HemisphericLight = new HemisphericLight("light1", new Vector3(1, 1, 0), scene);        var sphere: Mesh = MeshBuilder.CreateSphere("sphere", { diameter: 1 }, scene);
        // hide/show the Inspector        window.addEventListener("keydown", (ev) => {            // Shift+Ctrl+Alt+I            if (ev.shiftKey && ev.ctrlKey && ev.altKey && ev.keyCode === 73) {                if (scene.debugLayer.isVisible()) {                    scene.debugLayer.hide();                } else {                    scene.debugLayer.show();                }            }        });
        // run the main render loop        engine.runRenderLoop(() => {            scene.render();        });    }}new App();
This code for index.html contains the title that will appear in the browser title bar, as well as a <script> tag to tell Vite which file has the main code to start our project, which is app.ts in our case:
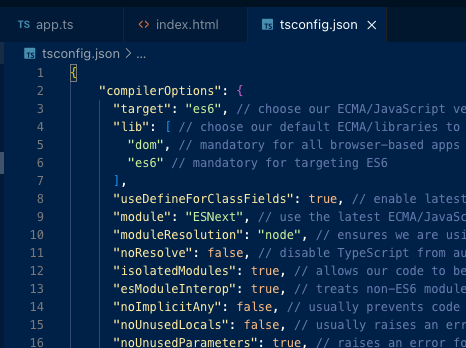
<!DOCTYPE html><html> <head> <meta charset="UTF-8"> <title>Title of Your Project</title> </head> <body> <script type="module" src="./src/app.ts"></script> </body></html>This code for tsconfig.json is a slimmed-down combination between the default Vite file and the one from that other Babylon.js tutorial mentioned earlier. Each line roughly explains what each setting does. (Note that JSON files normally don't allow you to insert comments like this example here, but tsconfig.json in particular does.) You can read the TypeScript docs if you want to learn more:
{ "compilerOptions": { "target": "es6", // choose our ECMA/JavaScript version (all modern browsers support ES6 so it's your best bet) "lib": [ // choose our default ECMA/libraries to import "dom", // mandatory for all browser-based apps "es6" // mandatory for targeting ES6 ], "useDefineForClassFields": true, // enable latest ECMA runtime behavior with older ECMA/JavaScript versions (delete this line if target: "ESNext" or "ES2022"+) "module": "ESNext", // use the latest ECMA/JavaScript syntax for our import statements and such "moduleResolution": "node", // ensures we are using CommonJS for our npm packages "noResolve": false, // disable TypeScript from automatically detecting/adding files based on import statements and etc (it's less helpful than you think) "isolatedModules": true, // allows our code to be processed by other transpilers, such as preventing non-module TS files (you could delete this since we're only using base TypeScript) "removeComments": true, // remove comments from our outputted code to save on space (look into terser if you want to protect the outputted JS even more) "esModuleInterop": true, // treats non-ES6 modules separately from ES6 modules (helpful if module: "ESNext") "noImplicitAny": false, // usually prevents code from using "any" type fallbacks to prevent untraceable JS errors, but we'll need this disabled for our example code "noUnusedLocals": false, // usually raises an error for any unused local variables, but we'll need this disabled for our example code "noUnusedParameters": true, // raises an error for unused parameters "noImplicitReturns": true, // raises an error for functions that return nothing "skipLibCheck": true // skip type-checking of .d.ts files (it speeds up transpiling) }, "include": ["src"] // specify location(s) of .ts files}(11) Run npm run dev in your terminal and Ctrl+click the localhost: link again.
🎉 YOU DID IT!! You just successfully created a local development environment for Babylon.js using Vite!
Maintenance and updates
HOWEVER, before you continue your Babylon.js journey with your shiny new setup, here's some basic upkeep you'll have to keep in mind:
- You should occasionally run
npm up(short forupdate) in the first terminal tab, which is the one for the main folder above your projects. This keeps Vite and Babylon.js updated. - If you need to uninstall a package from Step 4 or otherwise, run
npm un <packageNameHere>(short foruninstall) in that same main folder or terminal tab. - Static assets such as images or 3D models should go in the
publicfolder. These can then be referenced as if they're in the root folder"./likethis.png". - If you ever get stuck, reach out to the Babylon forums for help.
And that's it- you can go code now!
Building and sharing online
...But let's say you finished making a project and you want to share it with the rest of the world. It's time to take advantage of Vite's bundling abilities and export your code into lightweight JS for the web!
Here's how:
- Make sure all your non-code assets (images, 3D models, etc.) are in the
publicfolder to ensure that they end up in the final bundle. - If it's not already open as a tab, right-click on your project's folder (not the main one) and choose
Open in Integrated Terminal. Or just click on your second Terminal tab if you still have it. - Run this command:
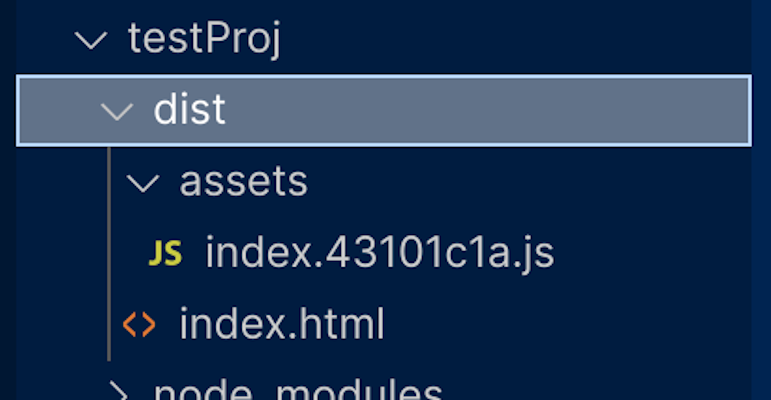
npm run build - Your exported code bundle is now in a folder called
dist. Check if it works by running:npm run preview - IMPORTANT: Once you verify this test works, open
dist/index.htmland look for any file paths that point to root with/. Add a period in front of all of those root paths (meaning/assetswould become./assets) and save the file.
NOW you can upload the contents of your dist folder to a host like GitHub Pages or Vercel to share it with the world! It'll run way faster than a project from the Playground since the code bundle only includes the parts of Babylon.js that you need, instead of the entire engine.
Note to advanced users: if you really want to push the limits of Vite and its bundling capabilities, you can look into using Dynamic import Statements. This feature allows you to put import statements inside functions instead of at the top of your code, which helps reduce the overall size of your exported bundle via code-splitting. I haven't tried this feature myself, but this overview video from Beyond Fireship is a great place to start exploring this workflow if you're interested.
Note to existing Vite users: you might've noticed that I instructed users to put all static assets in the public folder, instead of using URL-holding variables that come from having every asset as an import statement, as specified in the Vite documentation. This is because we don't really have to do this when Babylon.js projects contain heavy assets like 3D models by default. The obscured filenames that result from using the Vite docs' method don't really prevent the end user from ripping assets from Babylon.js projects either. If you still want to use this "Importing Assets as URLs" workflow anyway, do note that you'll have to create a .d.ts file in your src folder and figure out this code snippet to get it to work with TypeScript. As you can probably tell, I also haven't tested this method.
Credits
This tutorial was originally a forum post I wrote to replace Webpack in capucat's Create A Game Tutorial Series, but I was told to turn it into an article for the docs, so here we are. Thank you PirateJC for requesting this write-up! I think it turned out great.
Written by wavetro
Last updated: 2022-SEP-22